Braces & Bolts
(From the Diary of a Mad Piano Technician)
Having cleaned and disinfected the victim, we were now confronted with one of our more perplexing problems. Being faced with layers of missing and/or distorted skeletal elements, we were required to invent bold and unusual methods for reconstructing the underlying framework of our subject before we could even consider grafting any new flesh onto the corpse that might give it the appearance of normalcy.
By now, I trust, you have identified the species of our specimen and I no longer feel it necessary to withhold images of our progress (as I have done before) until the end of the chapter. I believe, at this point, that the telling will be enhanced, and that you may be drawn closer to my plight, by providing photographic evidence from the laboratory that depicts the difficulties and dilemmas we encountered during our experiments.
[Click on the images to expand them – use your navigators back-page arrow to return to the story]
_______________________________________________________________________________
The first hurdle we faced was that of re-attaching the two inner layers of the outer rim (the framework that defines the shape of its body), which had been separated during its submersion in putrefying liquids. The problem we faced was the impossibility of injecting adhesive evenly and adequately between their layers, because there were areas that remained bonded and resisted our efforts to separate them. In order to prevent further damage, we elected to perform a series of radical procedures that both frightened and excited us.

De-Laminated Rim
We began by injecting a bonding agent into the crevice from atop and clamping it (as shown in this photo) but were left with areas in the mid and lower sections that remained bulging and distorted.

Clamped Upper Rim
In order to bond these otherwise inaccessible regions we, in our depravity, contrived to bore holes through the outer of the two layers in areas that remained separated so that we might inject adhesive through them.
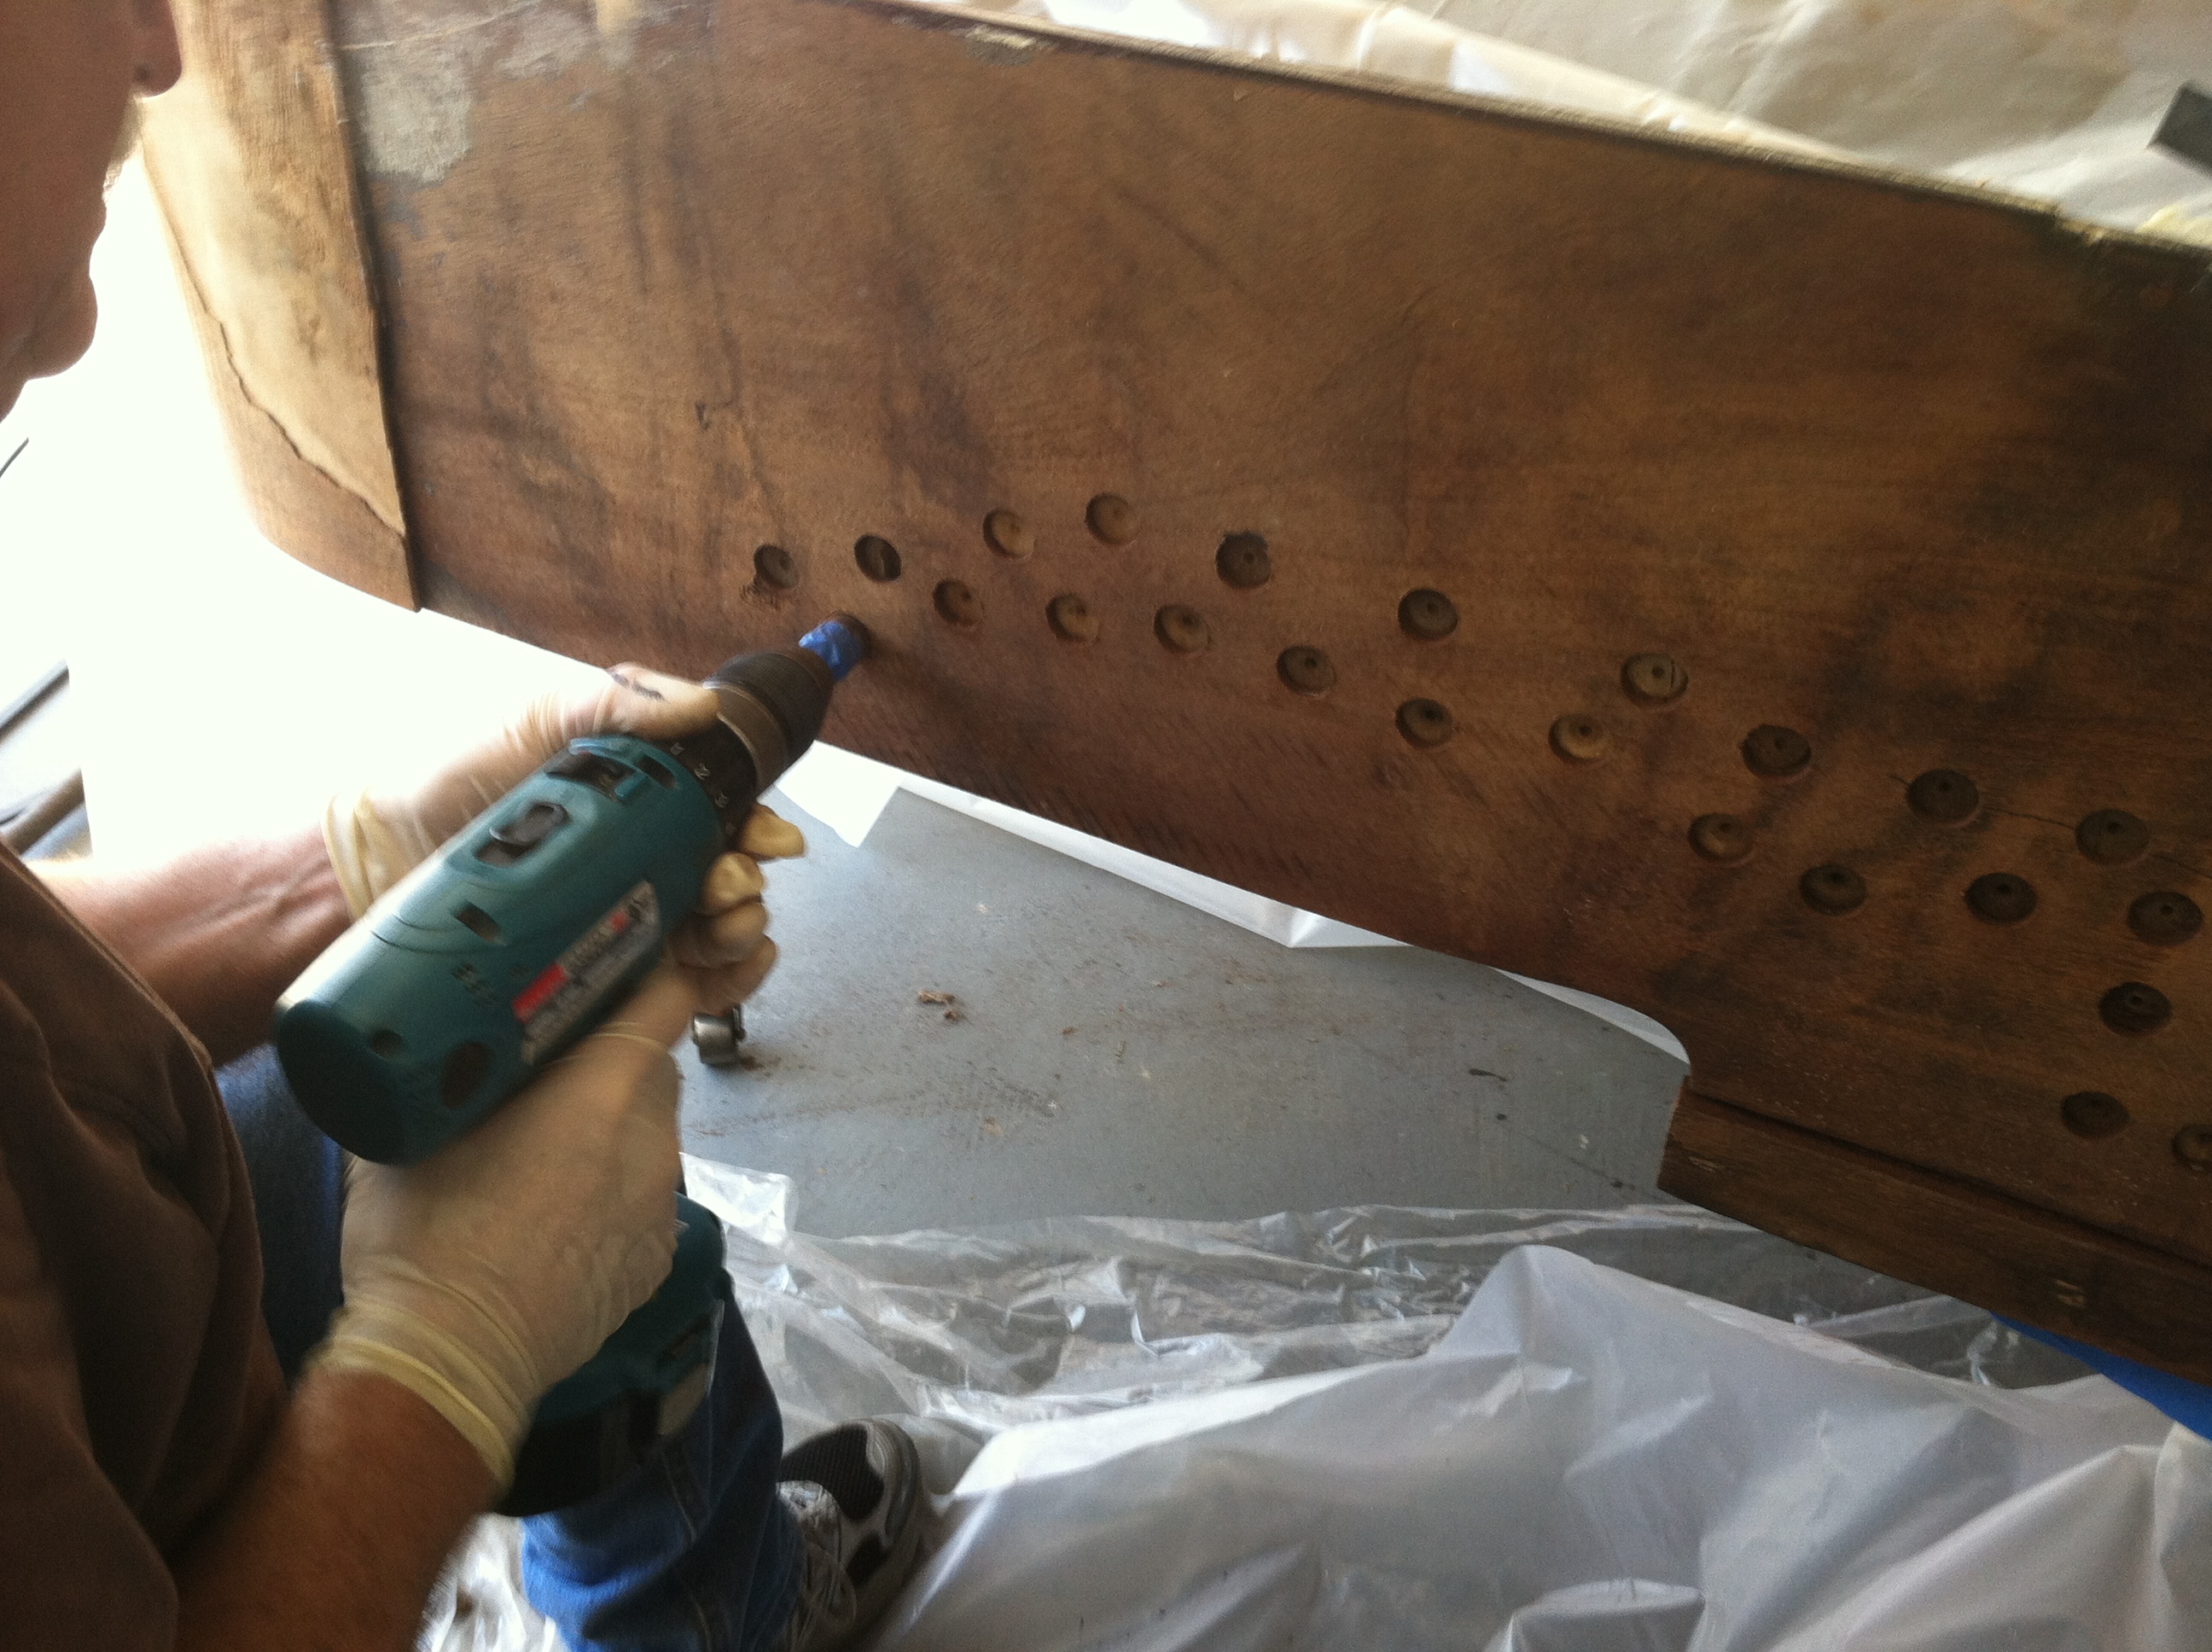
Boring The Middle Layer
Another problem existed, however, in the absence of a means to secure the two layers against each other during the bonding process.
The method that we devised to overcome this obstacle gave rise to the title of my story and the photos of that process will provide all of the descriptive elements. Our solution was to bolt the layers together and anchor them to the inner rim (not visible).

Bolting the Bulges
In the next episode we will attach another layer of bone to replace that which was destroyed or missing from the corpse and discuss our efforts to repair the horribly disfigured lid (its visible face).
I hope you’ll stay with me as the horror intensifies over the next few weeks. If you’re enjoying this story, I encourage you to comment (below) and sign up to follow this story (click the check boxes in the comment dialogue). And, if you haven’t already done so, please register on my web site.
Well Jon, I will admit this is becoming very interesting. When you refer to “we”…do you have help or are you actually doing this alone? I think we need pictures of the surgeons at work. These bolts look like they are on the outside….will you eventually remove them and fill in the holes to hide them? I guess I just need to shut up and read the next installment, huh?
I do indeed have a collaborator on this project and he (Igor) will be revealed shortly – I didn’t want to frighten you too soon with his disturbing visage. As to your second question, remember that these are the inner two layers of four. Fortunately, you won’t have long to wait before your question is resolved (in the next installment).
I’m loving your story, Thank you
…and the mystery continues. Great story, Jon!
Betty